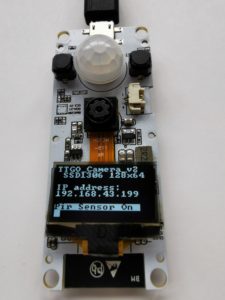
TTGO T-CameraをESP-IDF & Eclipseで動かす
まずカメラ Driverをインストールします。
GithubでEspressifが提供しているespressif/esp32-cameraがOV2640用ESP32互換ドライバーとあるのでこれをdesktop/esp-idf/componetsにクローンします。
このcomponentsフォルダーの下にesp32-cameraファルダーのようなライブラリープロジェクトがありそのフォルダーの下にCMakeLists.txtがあるとそのCMakeLists.txtを元にesp32-cameraライブラリー(libesp32-camera.a)を生成してプロジェクトに登録してくれるようです
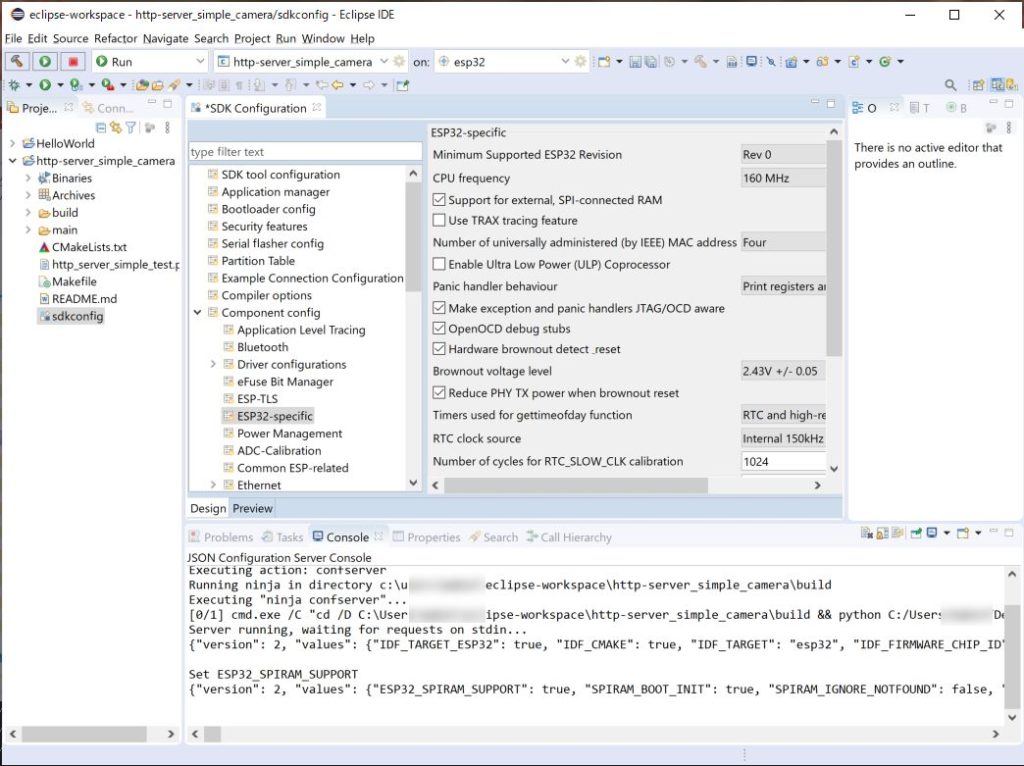
続いてespressif/esp32-cameraのREADME.mdのInstallation Instructionsに書かれているようにPSRAMをEnableします。
PSRAMのEnableには先ほど開いたsdkconfigを再度開き、「Component config」→「ESP32-specific」タブの「Support for external, SPI-connected RAM」にチェックを入れてセーブします。
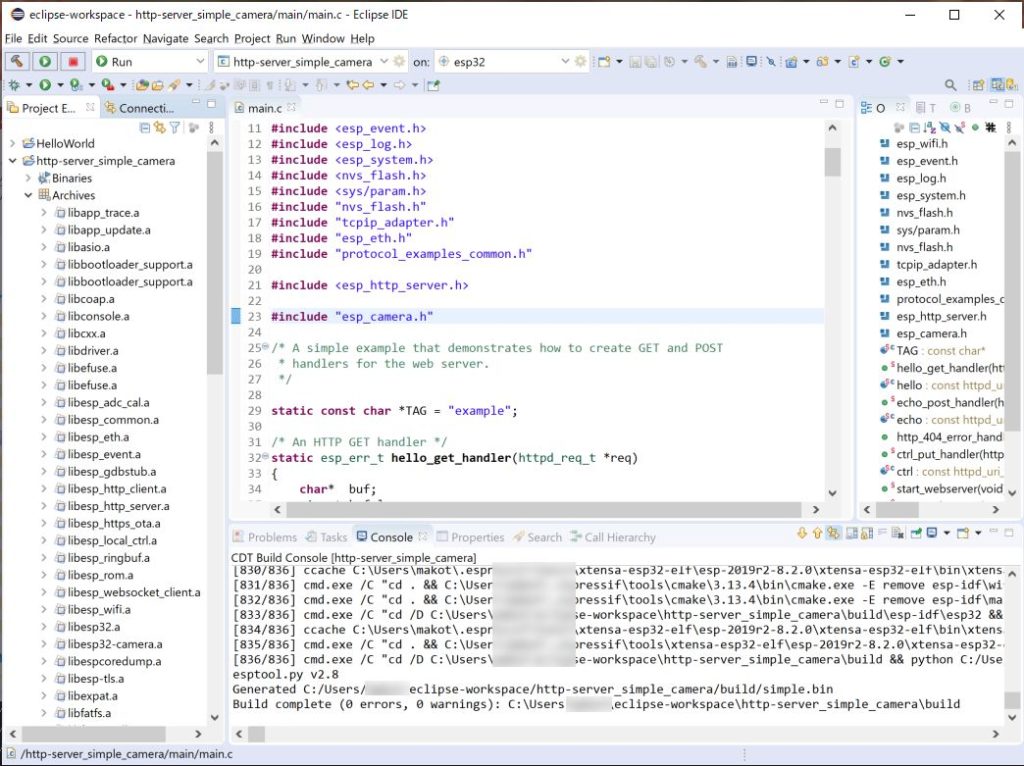
同様にREADME.mdに書かれているように#include “esp_camera.h”をmain.cの先頭に挿入します。
再buildすると「Archives」に”libesp32-camera.a”が追加されています。
続けてREADME.mdの後半にExamplesがあるのでこれをコピーして使います。
とりあえず絵が出ればいいのでコピーするのはPIN Map、構造体 camera_config、camera_init()、jpg_httpd_handler()だけです。
PIN Map
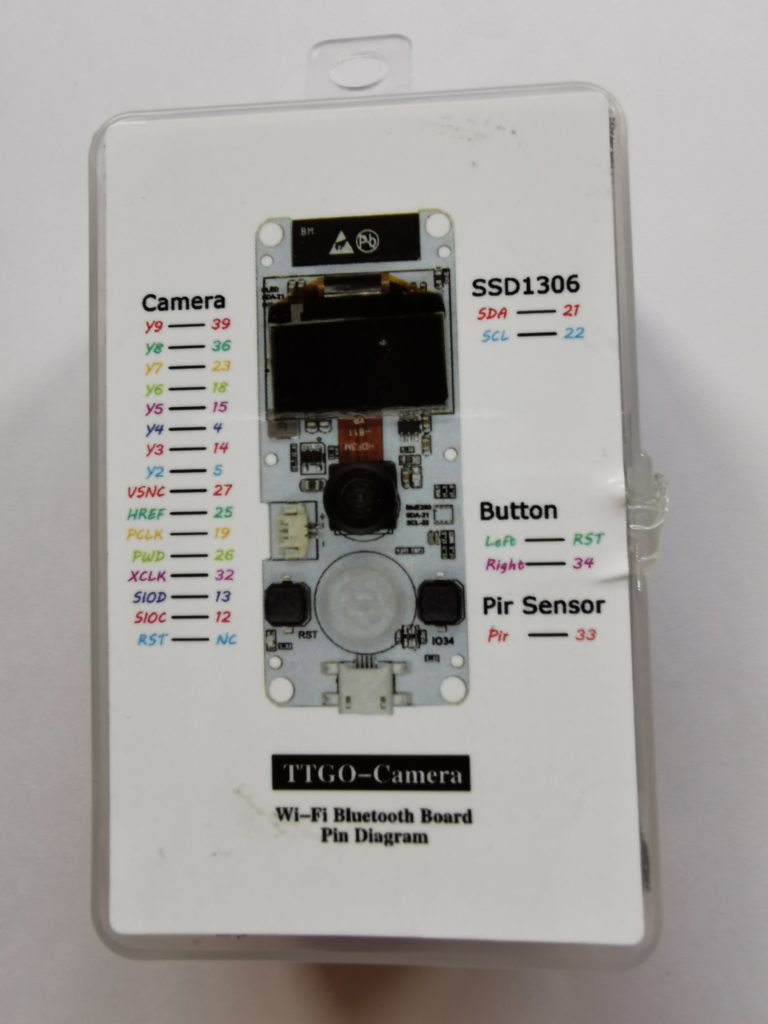
PIN Mapは当然TTGO T-Cameraに合わせます。箱に絵があるのでこれに合わせます。
|
1 2 3 4 5 6 7 8 9 10 11 12 13 14 15 16 17 |
#define CAM_PIN_PWDN 26//-1 //power down is not used #define CAM_PIN_RESET -1 //software reset will be performed #define CAM_PIN_XCLK 32//21 #define CAM_PIN_SIOD 13//26 #define CAM_PIN_SIOC 12//27 #define CAM_PIN_D7 39//35 #define CAM_PIN_D6 36//34 #define CAM_PIN_D5 23//39 #define CAM_PIN_D4 18//36 #define CAM_PIN_D3 15//19 #define CAM_PIN_D2 4//18 #define CAM_PIN_D1 14// 5 #define CAM_PIN_D0 5// 4 #define CAM_PIN_VSYNC 27//25 #define CAM_PIN_HREF 25//23 #define CAM_PIN_PCLK 19//22 |
camera_config
camera_configはそのままでいいです。
camera_init() [camera_init2()]
camera_init()は他にあるので手抜きで単にcamera_init2()に名前を変えます。
またpinMode()、digitalWrite()もパスが通っておらずエラーするので手抜きでパスの通っている
gpio_Set_dirction()、giio_set_level()に変えます。
またTAGを使っているのでstatic const char *TAG = “example”;の後にcamera_init2()を配置します。
|
1 2 3 4 5 6 7 8 9 10 11 12 13 14 15 16 17 18 19 20 21 |
static const char *TAG = "example"; esp_err_t camera_init2(){ //power up the camera if PWDN pin is defined if(CAM_PIN_PWDN != -1){ // pinMode(CAM_PIN_PWDN, OUTPUT); // digitalWrite(CAM_PIN_PWDN, LOW); gpio_set_direction(CAM_PIN_PWDN, GPIO_MODE_OUTPUT); int level = 0; gpio_set_level(CAM_PIN_PWDN, level); } //initialize the camera esp_err_t err = esp_camera_init(&camera_config); if (err != ESP_OK) { ESP_LOGE(TAG, "Camera Init Failed"); return err; } return ESP_OK; } |
jpg_httpd_handler()
if(fb->format == PIXFORMAT_JPEG){ のelse句は必要ないのでコメントアウトします。
httpd_uri_t camera
httpd_uri_t helloを真似て/cameraにGETリクエストが来たらjpg_httpd_handlerが呼ばれるようにします。
|
1 2 3 4 5 6 7 8 9 10 11 12 13 14 15 16 17 18 19 20 21 22 23 24 25 26 27 28 29 30 31 32 33 34 35 36 37 38 39 |
esp_err_t jpg_httpd_handler(httpd_req_t *req){ camera_fb_t * fb = NULL; esp_err_t res = ESP_OK; size_t fb_len = 0; int64_t fr_start = esp_timer_get_time(); fb = esp_camera_fb_get(); if (!fb) { ESP_LOGE(TAG, "Camera capture failed"); httpd_resp_send_500(req); return ESP_FAIL; } res = httpd_resp_set_type(req, "image/jpeg"); if(res == ESP_OK){ res = httpd_resp_set_hdr(req, "Content-Disposition", "inline; filename=capture.jpg"); } if(res == ESP_OK){ if(fb->format == PIXFORMAT_JPEG){ fb_len = fb->len; res = httpd_resp_send(req, (const char *)fb->buf, fb->len); } else { // jpg_chunking_t jchunk = {req, 0}; // res = frame2jpg_cb(fb, 80, jpg_encode_stream, &jchunk)?ESP_OK:ESP_FAIL; // httpd_resp_send_chunk(req, NULL, 0); // fb_len = jchunk.len; } } esp_camera_fb_return(fb); int64_t fr_end = esp_timer_get_time(); ESP_LOGI(TAG, "JPG: %uKB %ums", (uint32_t)(fb_len/1024), (uint32_t)((fr_end - fr_start)/1000)); return res; } static const httpd_uri_t camera = { .uri = "/camera", .method = HTTP_GET, .handler = jpg_httpd_handler, .user_ctx = "camera" }; |
あとapp_main()内にcamera_init2();を追加してカメラの初期化をします。
build/Launchしてエラーしなければhttp://192.168.1.65/cameraにアクセスすれば撮影画像が表示されるはずです。
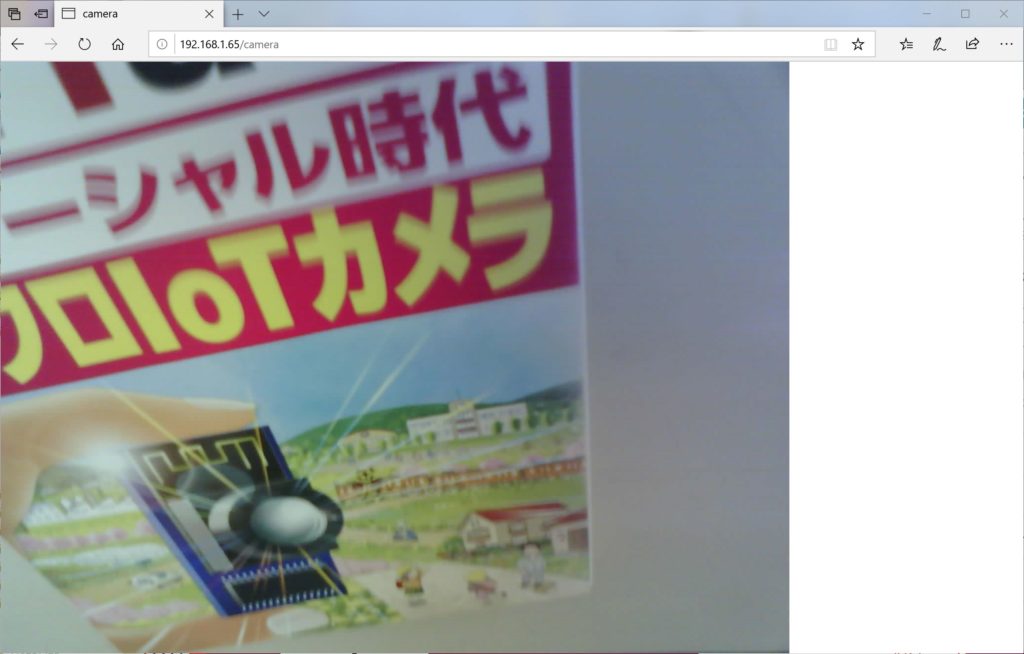
だいぶ手抜きをしましたが一応絵が撮れました。
今後、コードの整理やディスプレイ/人感センサーの使用とかするかも(笑)
プロジェクト全体はGitHubにあります。

