ESP32-WROVERでHTTPS Serverを立ち上げ C#アプリと通信編
前回まででHTTPS Serverを作ってきましたが今回はそのHTTPS Serverと通信するC#アプリを作ってみます。
C#アプリはVisual Studio2019+C#+WPF+.Net Core3.1という組み合わせです。
では作っていきましょう!!!
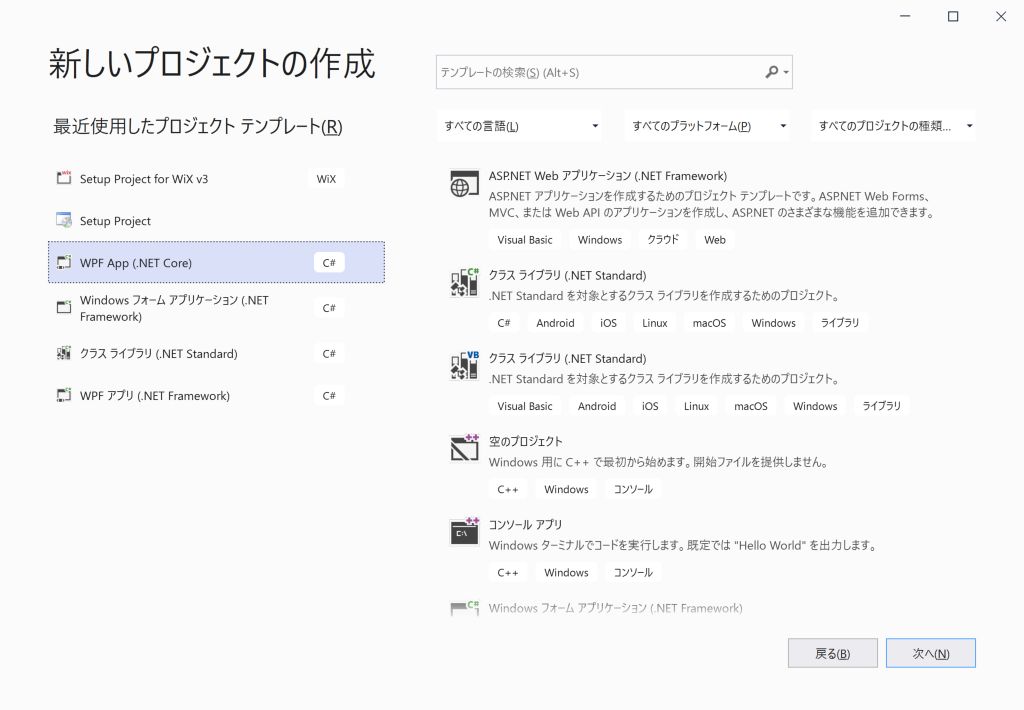
Visual Studio2019を立ち上げ「新しいプロジェクトの作成(N)」を選びます。
「WPF App(.Net Core) C#」を選んで「次へ(N)」をクリックします。

プロジェクト名は”WpfAppHttpsServerComm”としました。
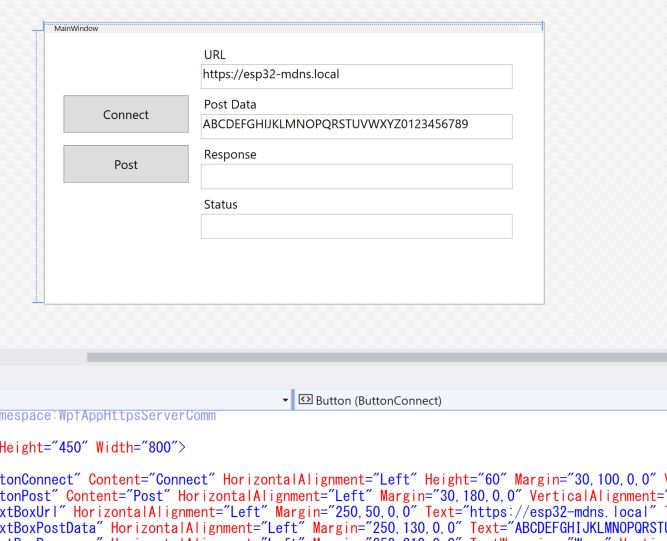
アイテムをウインドウに載せていきます。
| アイテム種類 | 名称 | 値 |
| Button | ButtonConnect | Connect |
| Button | ButtonPost | Post |
| Label | LabelUrl | URL |
| TextBox | TextBoxUrl | https://esp32-mdns.local |
| Label | LabelPostData | Post Data |
| TextBox | TextBoxPostData | ABCDEFGHIJKLMNOPQRSTUVWXYZ0123456789 |
| Label | LabelResponse | Response |
| TextBox | TextBoxResponse | 空欄 |
| Label | LabelStatus | Status |
| TextBox | TextBoxStatus | 空欄 |

「Connect」ボタン、「Post」ボタンをダブルクリックしてそれぞれにコードを付け加えていきます。
「Connect」ボタンクリックでHttpClientクラスをインスタンス化します。
「Post」ボタンクリックでTextBoxPostDataの値とKey値”Cmd”とペアにしたコンテンツを生成してTextBoxUrlにPostリクエストを送ります。
「Connect」ボタンを分けているのはHttpClientクラスのインスタンス化を毎回やってしまうとその度に認証が行われるため時間がかかってしまうためです。
HttpClientクラスのインスタンス化を最初の1回だけにすると2回目以降の通信が速くなります。
|
1 2 3 4 5 6 7 8 9 10 11 12 13 14 15 16 17 18 19 20 21 22 23 24 25 26 27 28 29 30 31 32 33 34 35 |
HttpClient client; private void ButtonConnect_Click(object sender, RoutedEventArgs e) { client = new HttpClient() { Timeout = TimeSpan.FromSeconds(10) }; TextBoxResponse.Text = ""; } private async void ButtonPost_Click(object sender, RoutedEventArgs e) { var parameters = new Dictionary<string, string> { {"cmd", TextBoxPostData.Text } }; TextBoxResponse.Text = ""; TextBoxStatus.Text = ""; using (var content = new FormUrlEncodedContent(parameters)) { try { HttpResponseMessage response = await client.PostAsync(TextBoxUrl.Text, content); TextBoxStatus.Text = response.ReasonPhrase; HttpContent responseContent = response.Content; using (var reader = new StreamReader(await responseContent.ReadAsStreamAsync())) { TextBoxResponse.Text = await reader.ReadToEndAsync(); } } catch(Exception ex) { TextBoxStatus.Text = ex.Message; } } } |
C#アプリ側はこれで完成ですが、HTTPS Server側がPOSTリクエストに対応していないのでそのコードを足します。
ESP-IDF/esamples/protocols/http_server/simple/main/main.cにはPOSTリクエストコード例があるのでそれを使います。
POSTリクエストメソッドを用意します。POSTリクエストメソッドの処理内容は受け取ったPOSTリクエストデータをそっくりそのままレスポンスで返すだけです。
|
1 2 3 4 5 6 7 8 9 10 |
/* An HTTP POST handler */ static esp_err_t root_post_handler(httpd_req_t *req) { char buf[100]; int ret, remaining = req->content_len; while (remaining > 0) { /* Read the data for the request */ if ((ret = httpd_req_recv(req, buf, MIN(remaining, sizeof(buf)))) <= 0) { |
このPOSTリクエストメソッドをWeb Serverタスクとして登録します。
|
1 2 3 4 5 6 7 8 9 10 |
static httpd_handle_t start_webserver(void) { ... ... // Set URI handlers ESP_LOGI(TAG, "Registering URI handlers"); httpd_register_uri_handler(server, &root_post); httpd_register_uri_handler(server, &root); return server; } |
build/flashします。
C#アプリの方もbuildして起動します。
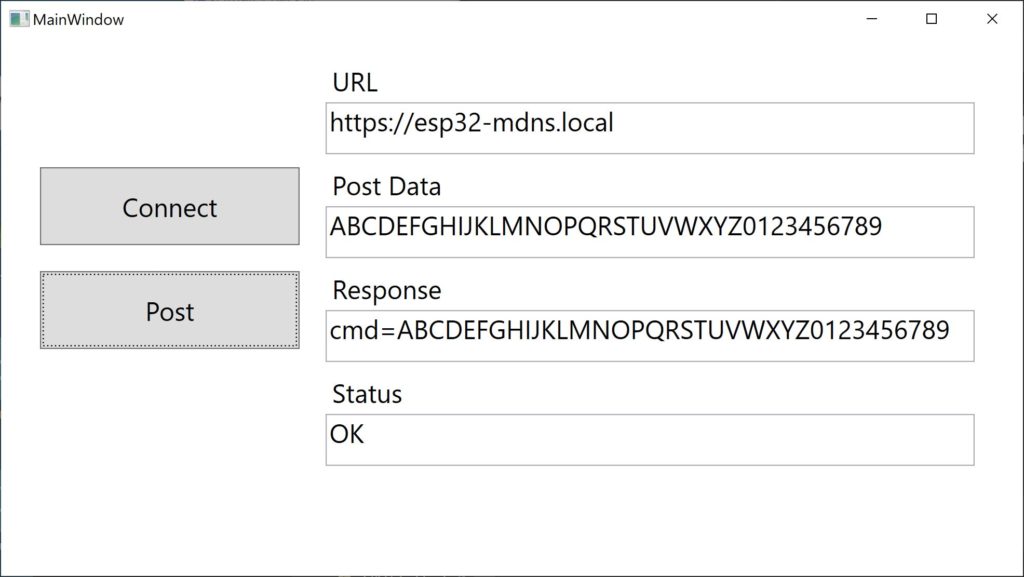
「connect」ボタンを押してから「Post」ボタンを押すとResponseが返ってきます。

これでSSL WiFi通信を使ったC#アプリ/機器の開発案件に対応できるな。無いけど…
ESP-IDFプロジェクトはGitHubにあります。
C#アプリプロジェクトもGitHubにあります。
次回は”https-server-example”プロジェクトをAPモードに対応させます。


