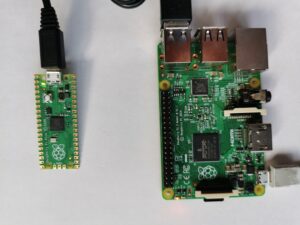
Raspberry Pi Pico “Hello World”実施
Warning: Undefined array key "file" in /home/xs699219/neocode.jp/public_html/wp-includes/media.php on line 1788
Raspberry Pi Picoで”Lチカ”の次は”Hello World”をやってみます。
“Hello World”は「Hello World」の文字をUart経由でターミナルに表示させるものですが、これは次回、Picoのベンチマーク結果を表示させる事を勘案しています。
前回の様に「Getting Started with Raspberry Pi Pico」の”Chapter 4. Saying “Hello World” in C”をベースにやっていきます。
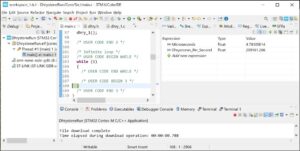
前回でPicoの開発環境は整っている前提で進めていきます。
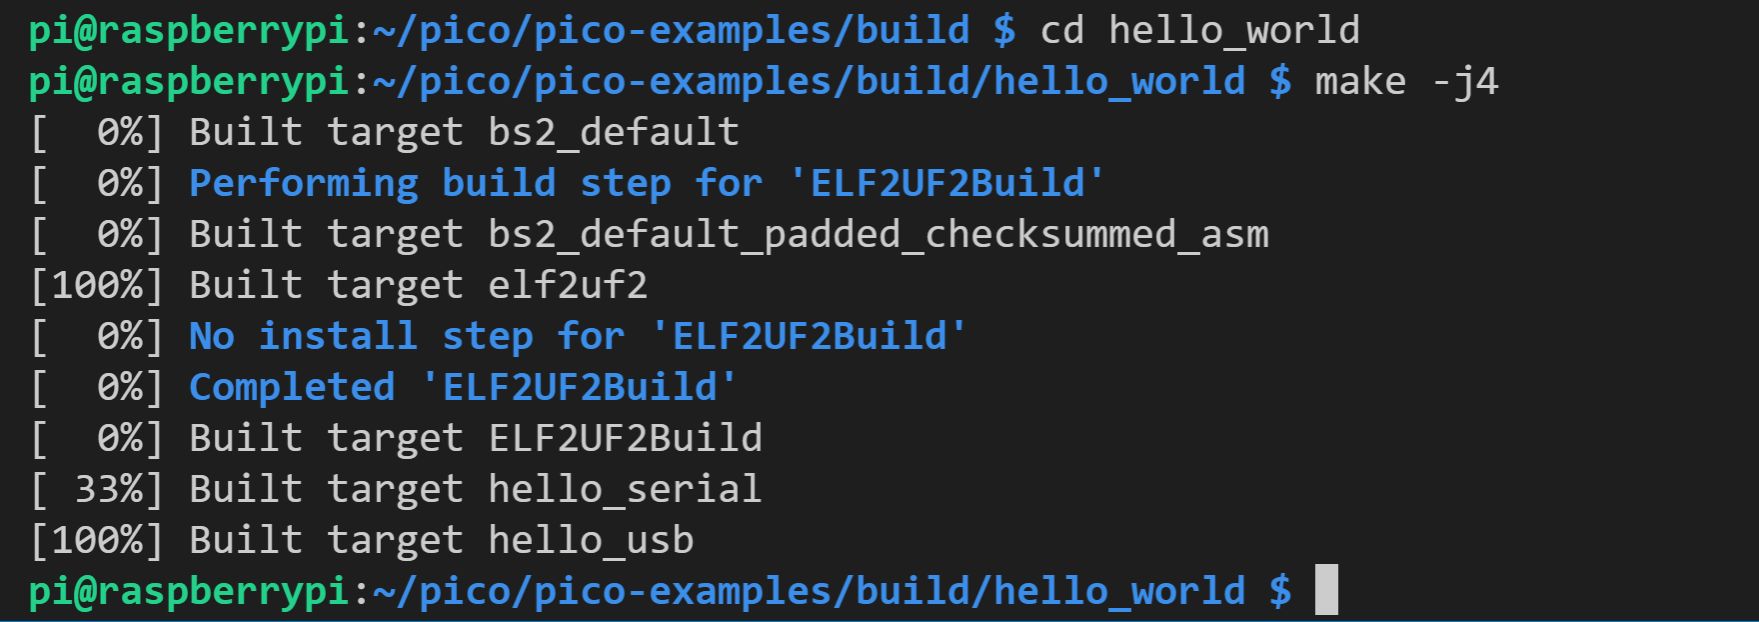
“~/pico/pico-examples/build/hello_world”にchdirして、makeします。
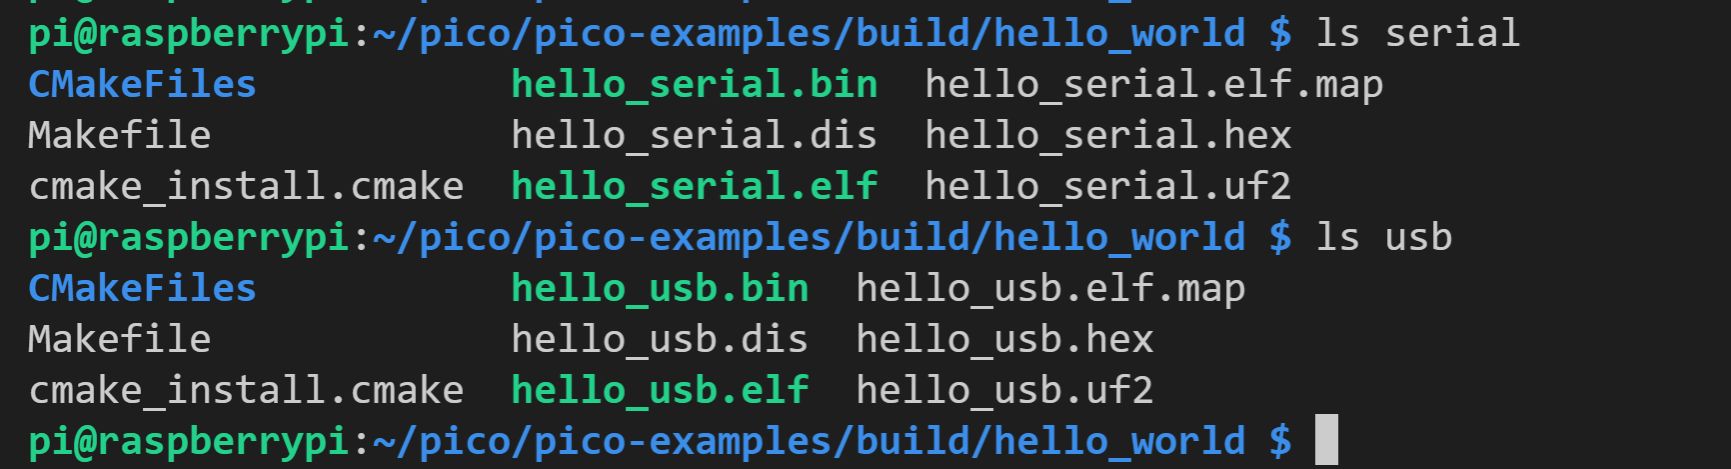
“serial”ディレクトリにuart向けのhello_world、”usb”ディレクトリーにusb向けのhello_worldのuf2ファイル(直接書き込む実行ファイル)とelfファイル(デバッガー用)がそれぞれできています。
“hello_world”のソースコードは”~/pico/pico-examples/hello_world/”下の”/usb/hello_usb.c”および/serial/hello_serial.c”にあります。
実はこれらは同じソースコードで、CMakeLists.txtでbuild内容が分けられています。
Hello World動作確認(USBシリアル版)
まずusb版を試します。
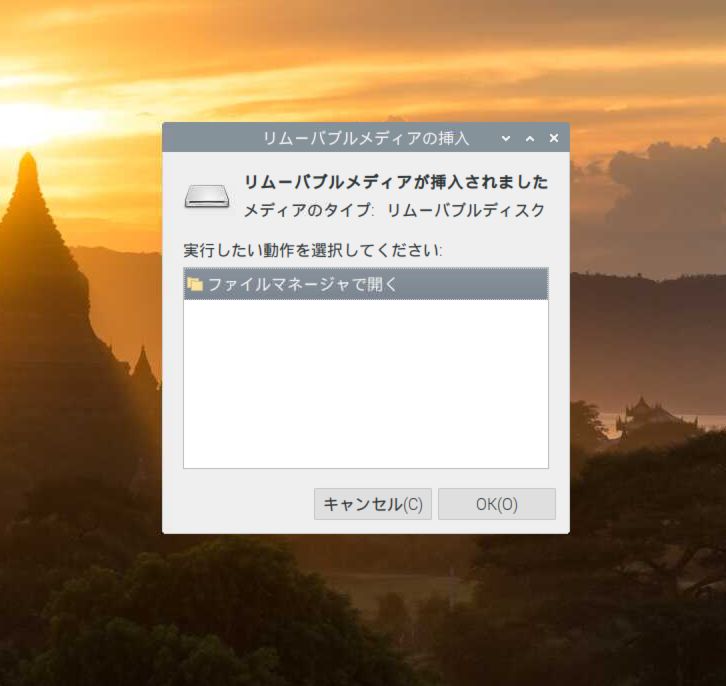
前回と同様にPicoボード上の「BOOTSEL」ボタンを押しながらラズベリーパイとUSB接続します。Picoがマスストレージデバイスとして認識されるので”hello_usb.uf2″ファイルをその中に放り込みます。
これでUSBシリアルを通じて”hello_world”が送られてきています。
ラズベリーパイに”minicon”をインストールしてこれを確認できます。
“$ sudo apt install minicom”でインストールします。
“$ minicom -b 115200 -o -D /dev/ttyACM0″でminicomを走らせます。

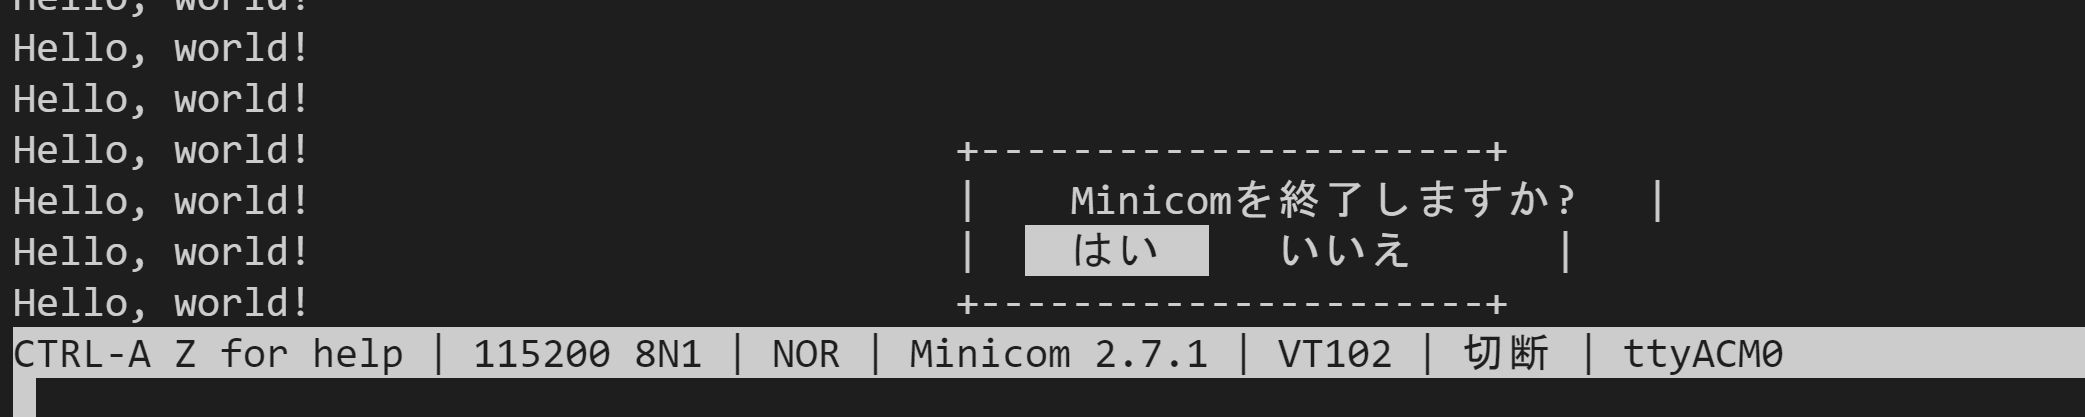
“Hello, world!”が受信されていますね。「Ctrl + A」→「X」でminicomを終了できます。
Hello World動作確認(Uart版)
USBシリアルはSWDデバッガーモードで動かした場合、デバッガーを止めるとシリアル通信が切れてしまいます(のようです)。
ですのでUart0を使った場合も確認してみます。
USBシリアル版と同様に”~/pico/pico-examples/build/hello_world/serial/hello-serial.uf2″をPicoに書き込みます。
PicoのUart0はGP0,GP1に出ているのでこれをRaspberry PiのGPIO15,GPIO14につなぎます。
| Raspberry Pi | Raspberry Pi Pico |
| GND(Pin 14) | GND(Pin 3) |
| GPIO15(UART_RX0, Pin10) | GP0(UART0_TX, Pin1) |
| GPIO14(UART_TX0, Pin8) | GP1(UART0_RX, Pin2) |

次にラズベリーパイで”sudo raspi-config”を実行して、シリアル通信を有効になっているか確認します(無効なら有効にします)。
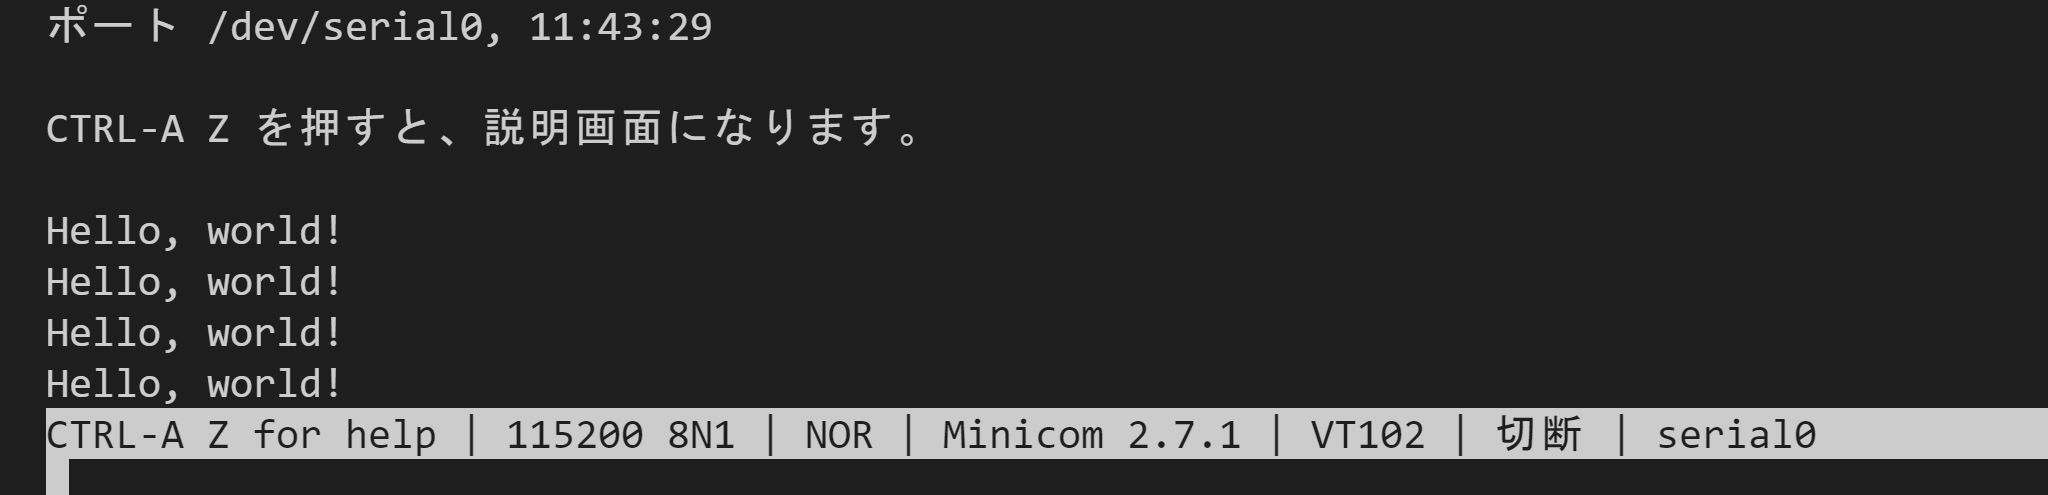
最後にUSBシリアルと同じ感じで”$ minicom -b 115200 -o -D /dev/serial0″とすると”Hello, World!”が受信できます。

「Ctrl + A」→「X」でminicomを終了できます。
終わり